


$10 Shipping on All Ready-to-Ship Items.
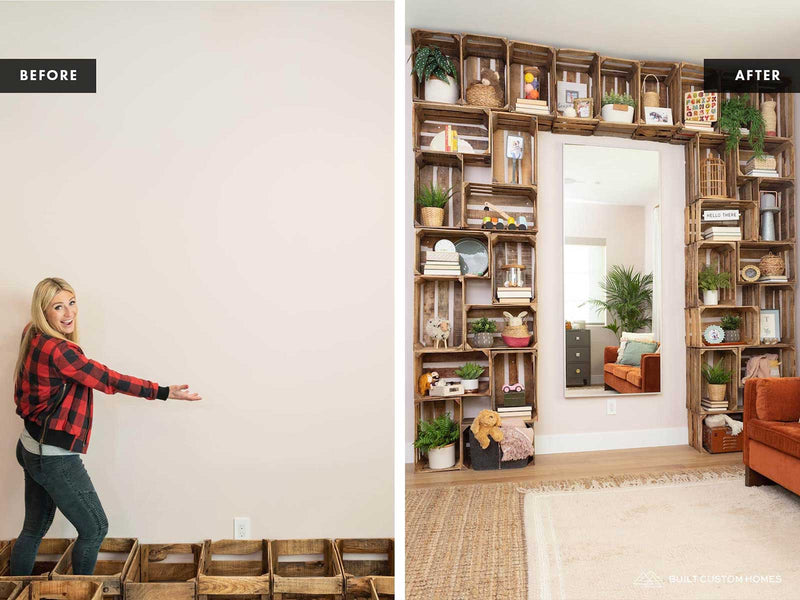
You guys, I created the cutest Vintage DIY Crate Wall for Baby Girl Roth’s nursery, and I just HAVE to share it with you so you can make one in your own home!
The inspiration for the DIY crate wall project was to add something vintage to the room while also creating functional art. I saw that my friends Kim and Tim (owners of Ripe Designs) had these awesome vintage produce crates, and I instantly knew I wanted to use them in a BIG way. I bought enough crates to cover almost an entire wall in Baby Girl’s nursery, and my team and I got to work.

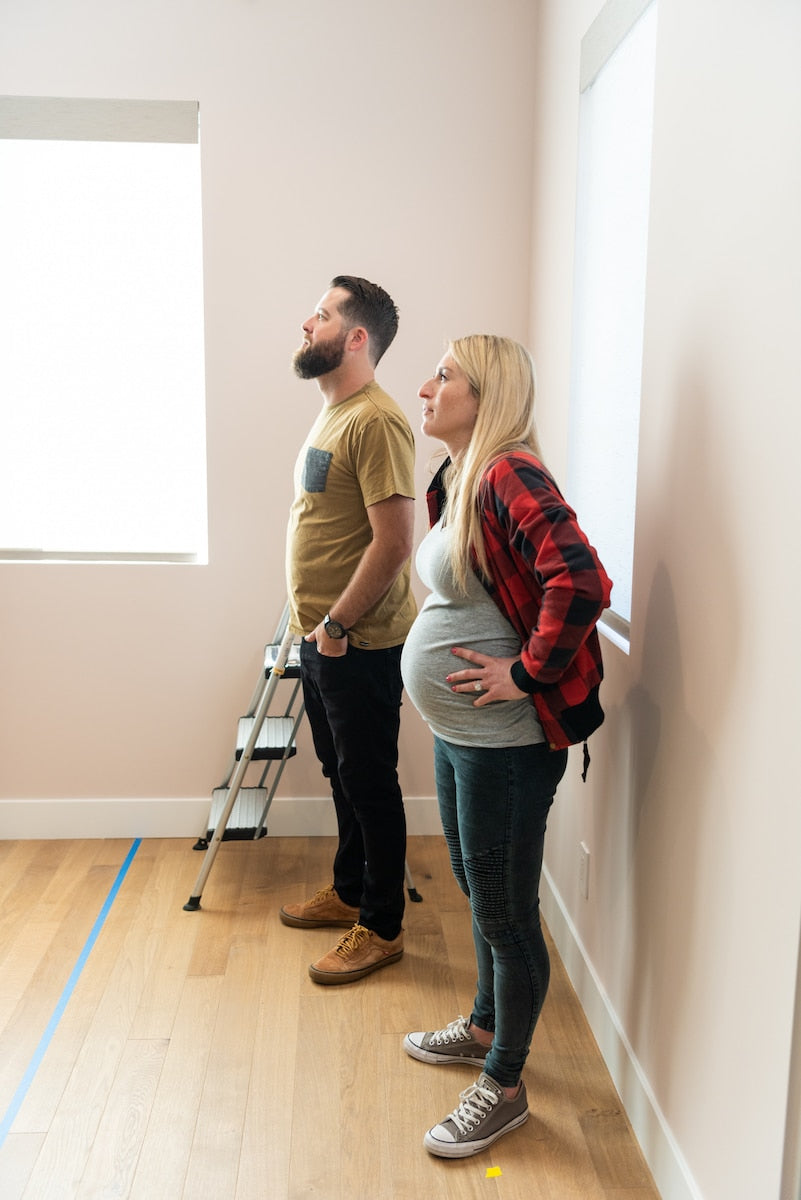
In order to use these crates in a baby’s room and feel that they were totally safe, I had my team power-wash them, lightly sand them, and seal them so they were super clean for the nursery. Once they were sealed and dry, we hauled them into the nursery and my husband Brett, my carpenter Brian, and I got to work installing them floor-to-ceiling on one wall of the nursery.
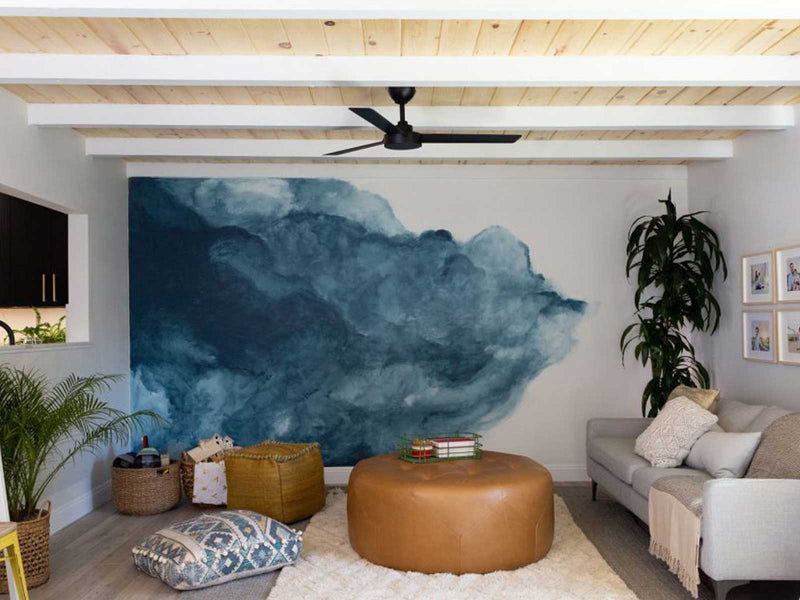
Whether you’re creating a dramatic statement wall like I did, or just adding a few crates to one wall nook in your home, this DIY crate wall project is easily achievable and adds a warm, custom feel to the space. Plus, it takes something every home could probably use more of – storage! – and makes it pretty. That’s a win for me!
If you want an even better behind-the-scenes look at how we installed this wall, check out this episode from my HGTV digital series, New Addition!
Okay, grab some vintage produce crates, your screw gun, and an empty wall, and let’s get started.


Measure the wall, or section of wall, where you’re planning to hang your crates.

Lay your crates out on the ground the way you want them to hang on the wall, making sure to follow the measurements you took from your wall space.

If you want to hang a mirror or artwork on your crate wall, hang that first. It will be easier to hang the crates around it than trying to leave the exact-sized space needed for your mirror or artwork.

Start screwing the crates onto the wall, using your stud-finder as a guide. Your screws should hit a stud (luckily our wall was a shear wall so the entire thing was plywood behind the drywall).


Take a step back and look at your work; make a few adjustments if needed.
Voila! Custom crate wall. Have fun styling!


And psst, a lot of my favorite baskets and decorative items I got from my own shop!


Thank you all.
Sáringer Kálmán
on November 12, 2022
This caught my eye and sure has potential. Well done 👍 however when I read it’s for a baby’s room, I instantly pictured my 16 month old gripping one or the timbers and practicing his climbing. Maybe your kid won’t be a climber but…. Hmmmm… good luck to you!
Genevieve
on October 12, 2022
THANK YOU
IS SO, SO BEAUTIFUL AND
PRACTICAL.
I LOVE YOUR T.V. SHOW IN
HGTV
HILDA HERNANDEZ
on October 08, 2022
looks great. whats the meseure of the crate?
Doron
on September 15, 2022
All blog comments are checked prior to publishing