


$5 Shipping on All Ready-to-Ship Items.
Made to Order Shipping Starting at $6.90.

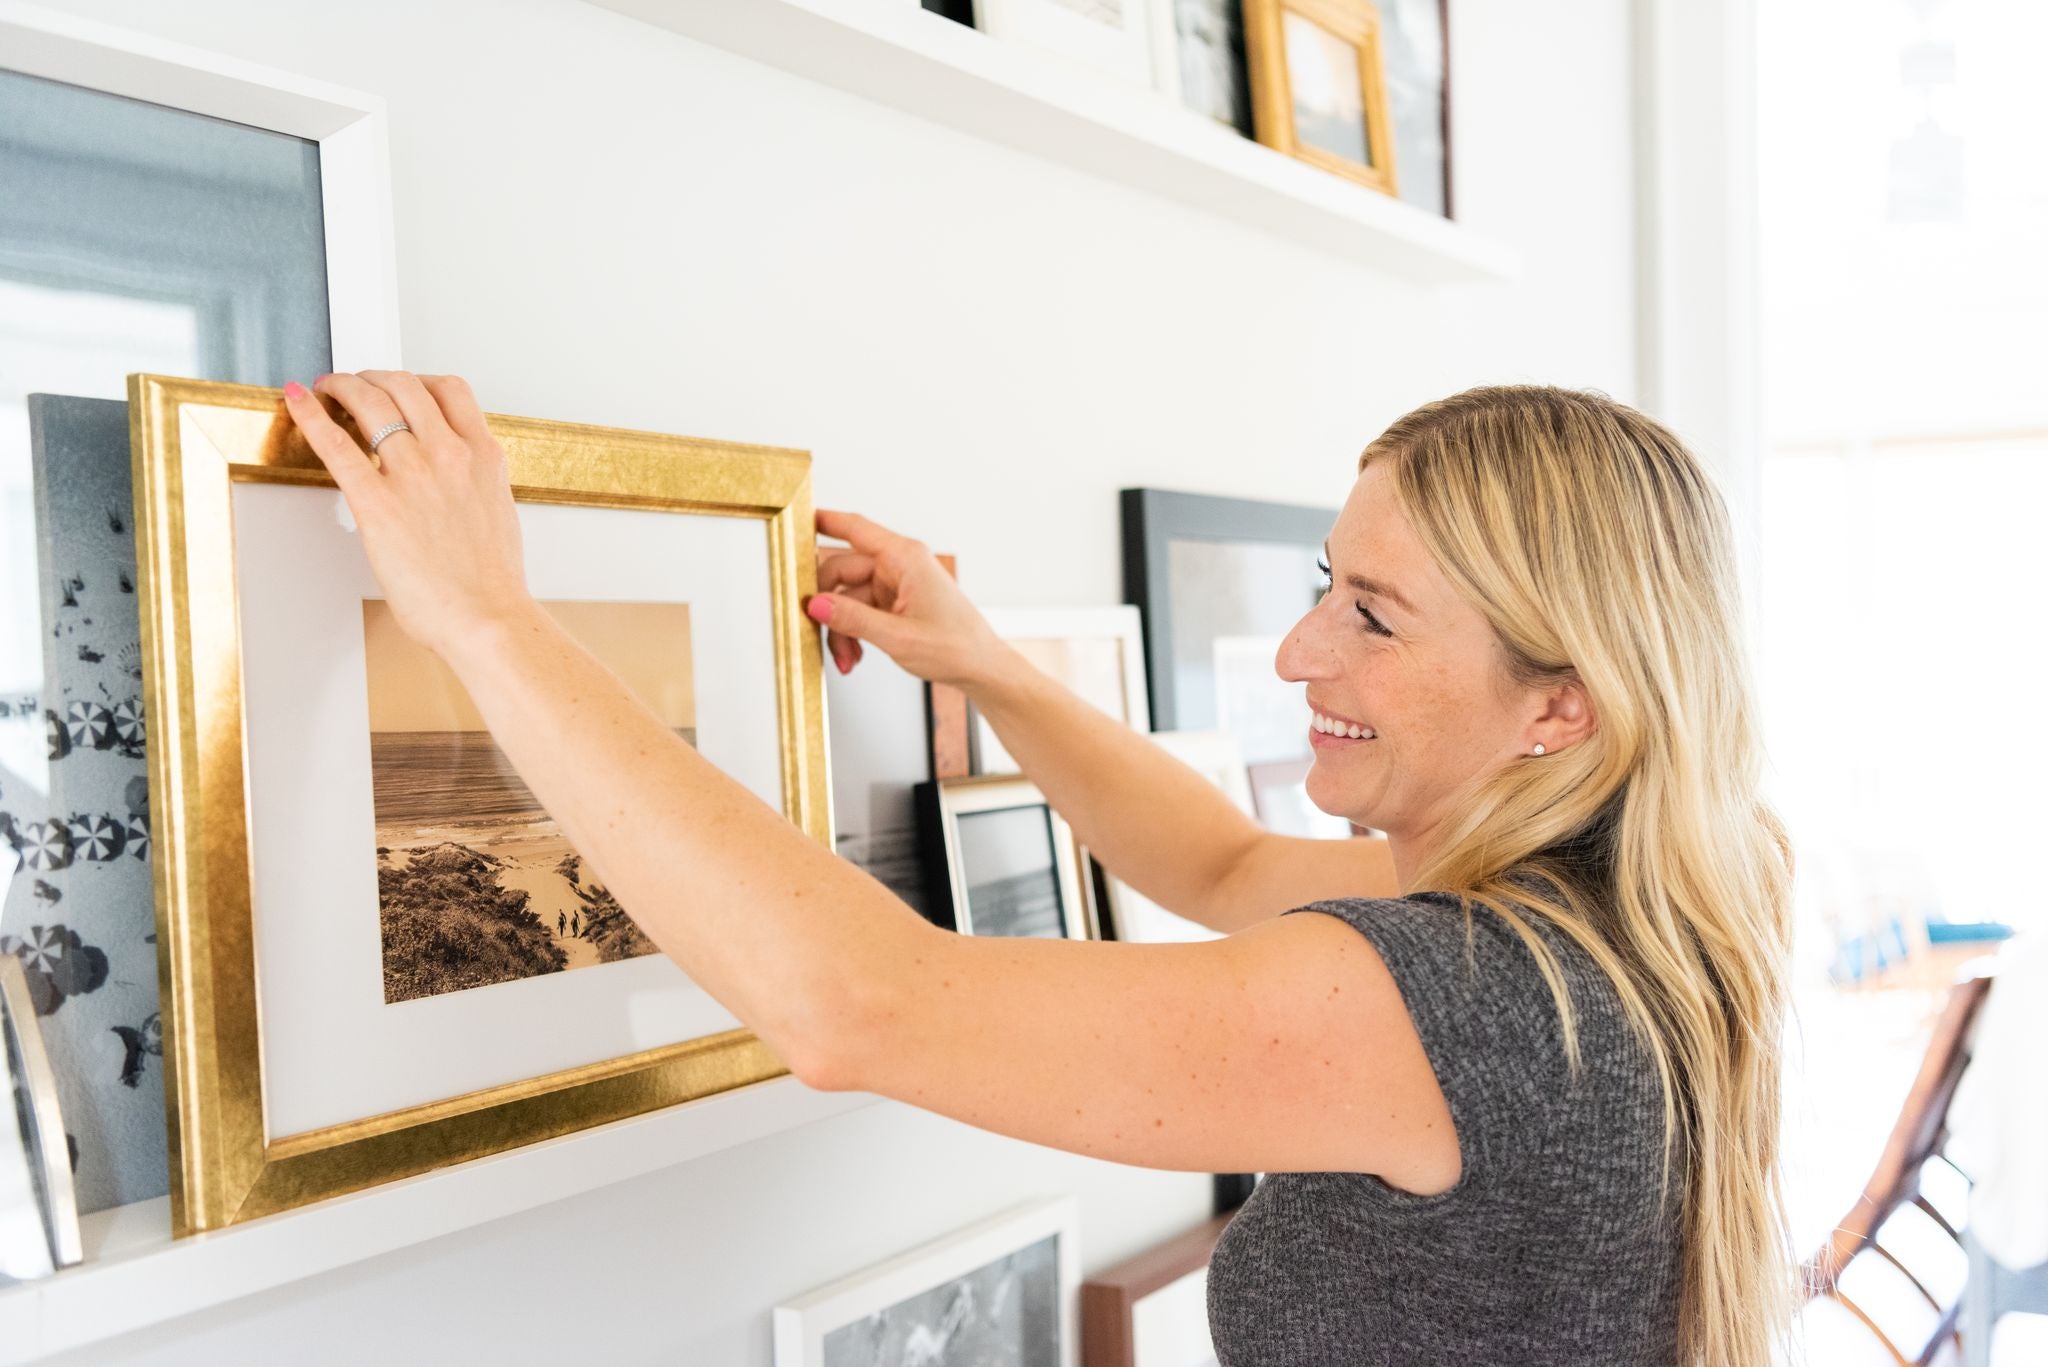
Elevate your home by creating the perfect gallery wall. A good gallery wall can add so much life and interest to a living room, dining room, bedroom, or den! That said, I get it—hanging a gallery wall can feel a little intimidating.
But don’t fear: I’ve hung so many gallery walls in my days, I’ve lost count. And along the way, I’ve developed some awesome tips and tricks for gallery wall ideas. Some of these tips involve tracing paper, some of them involve rolled-up balls of tape, and some of them even involve earthquake putty. You’ll see what I mean! Before you hang your own art prints and family photos, read my top tips and tricks for gallery walls.
Unless you have the scale planned out appropriately, a gallery wall might look like it’s scrunched up on a smaller wall. I like to use a large, empty wall space to create a gallery wall – like ascending up a staircase, a blank wall in the primary bedroom, or an empty wall space in a living room!

Gallery walls are great, but they involve hanging a lot of things on the wall. You don’t want to give your eyes too much work to do, so plan to do one in an area that isn’t competing with other busy visual things. I like to think of a gallery wall as somewhat of the focal point of a room.

If you’ve been following along for a while, you might remember I was on the TODAY Show telling Hoda and Jenna about how to hang gallery walls, and I shared some pretty cool tricks with them! One of those tricks is this: Trace all the items you want to hang on your gallery wall and cut them out. Then you can tape them up on your wall and move the traced paper “templates” of your frames around until you find the right balance. No need to put a ton of holes in your walls in order to get it perfect. You can watch the video HERE of me demonstrating this trick.
Once you have your gallery template figured out, take some earthquake putty and stick it to the back corners of your frames. I do this in California because, hello, we have earthquakes here. But I’ve also found that the putty helps secure the frames to the walls so they don’t tilt. Win, win! It’s one of my secret gallery wall weapons.

Another trick I shared on the TODAY Show (watch it here): take some painter’s tape, ball it up, and put it on the back of your frame where the mounting hardware is located. Gently press the frame onto the wall, and the tape ball will transfer to the wall. Now you’ll know exactly where you need to hammer in your nails – magic!
Don’t skip this step! Once you have everything hung, take your level to make sure everything is hanging straight. Trust me, your eyes will thank you and it’s the most important part of a gallery wall.

Maybe this is more your speed! If you don’t want to hang a bunch of things on the wall (or want more freedom to change out art without creating more nail holes), hang a picture ledge or two and create a photo wall. Then you can change out photos, picture frames, and art pieces to your heart’s desire! I’ve hung one of these in a dining room before and loved how it turned out.

Consider using different picture frames, frame styles, and art pieces to create dimension, and if you want a cleaner look, try printing all your photos in black and white. I also like to keep the same color palette to make the gallery wall even more eye-catching. You can make your gallery wall super symmetrical or you can switch it up and create more of a collage.

Creating the perfect gallery wall at home doesn’t have to be daunting. With my expert tips and tricks, you can transform any blank wall into a captivating focal point to showcase memories, art, and what makes you happy. After keeping all of this in mind, the bottom line is: if it’s something you love, and it’s on your wall, it’s going to look great no matter what! I hope these gallery wall ideas and tricks help Build Your Happy.
Happy gallery-ing!


I’m recommending photo tiles. https://www.photobookshop.com.au/wall-decor/photo-tiles
Emma
on January 31, 2024
It really helped when you talked about tracing our frames on paper to create a template before hanging them. Next weekend, I’m helping my cousin with her house’s renovation, and she said something about gallery walls, so I’ll email your post to her immediately. Thank you.
Eli Richardson
on January 31, 2024
All blog comments are checked prior to publishing